Today I have a new reversible beanie called the the 2side beanie. It’s made with two different stitches which have a beautiful texture. This beanie is worked in continuous rounds to create a ‘tunnel’ which is folded in half. You can choose which color you want to wear on the outside and easily switch between the two sides. This hat is actually 2 hats in 1 which makes it twice as warm! Scroll down for my free pattern and step by step video tutorial.
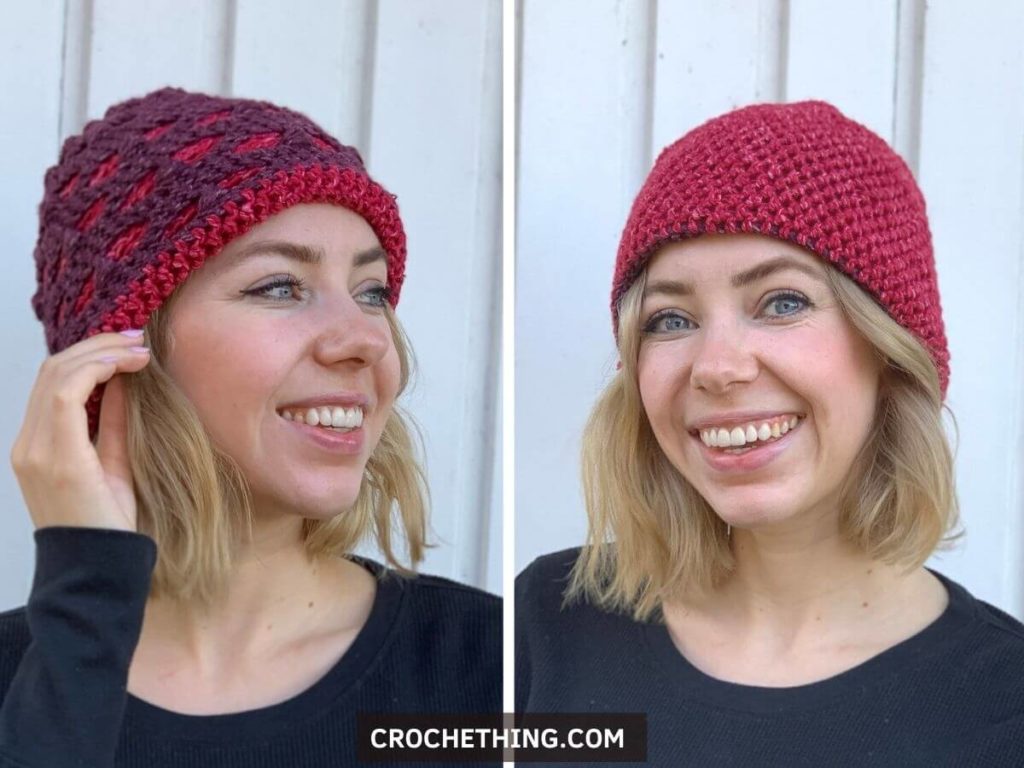
About this 2Side beanie
This reversible beanie is made from a long ‘tunnel’ worked in continuous rows. We start with color A for the blocked puff stitches, and then change to color B for half double crochet stitches worked in back loops only. Both tops will be closed separately with a darning needle. Choose which color you want to wear on the outside and fold the other half to the inside.
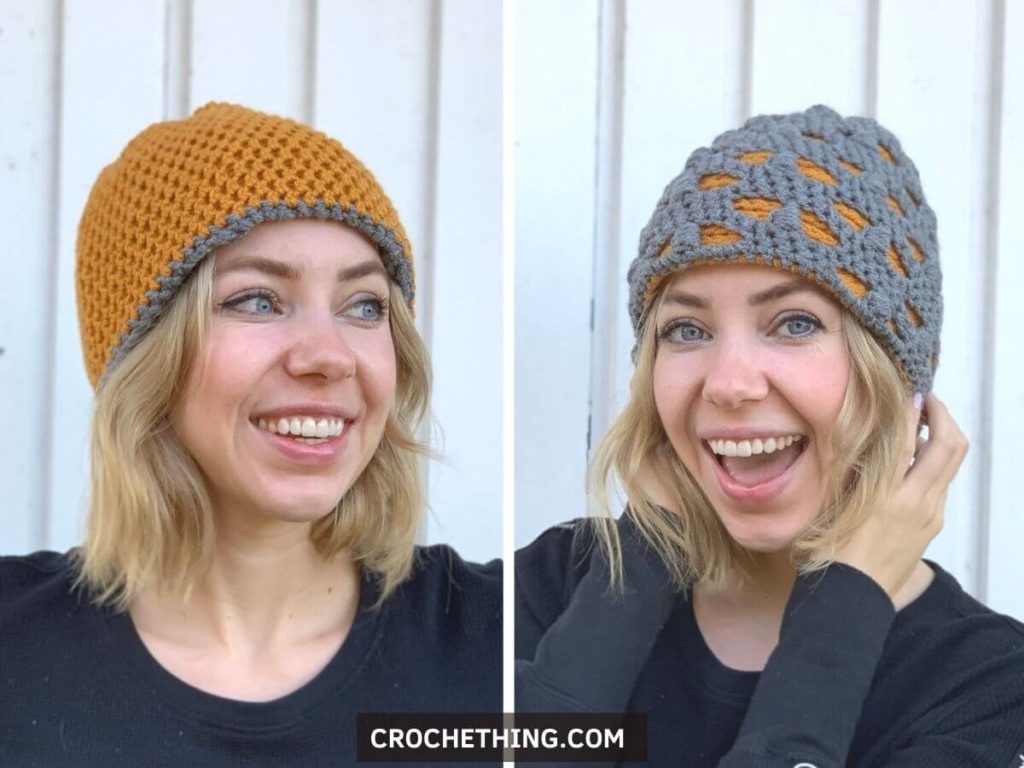
Other free patterns
2Side Reversible Beanie pattern
Materials:
– Lionbrand Jeans (Weight 4/Medium, 246yds/3oz, 225m/100g)
50g of color Corduroy [506-145]
70g of color Jumpsuit [506-138]
– Crochet hook 6mm
– Darning needle
– Scissors
Abbreviations:
ch: chain
sl st: slip stitch
sc: single crochet
hdc: half double crochet
hdc blo: half double crochet back loop only
dc: double crochet
ps: puff stitch
Gauge:
14 hdc blo x 12 rows = 4” square / 10 x 10 cm
Size:
Adult – fits circumference 22-24”
Measurements:
When lying flat:
Width: 10″ / 23 cm
Height: 9″ / 23 cm

Notes:
– this beanie is worked in continuous rows, creating a long ‘tunnel’. Both tops are closed with a darning needle and then folded inside the other side.
– this pattern is written in US terms
– place a stitch marker in every first stitch to see where the round started
Video tutorial
To make it easier, I’ve made a video tutorial showing you how to make this beanie. You can also find my free written pattern below.
* Click here to watch the video on YouTube
Pattern
With hook size 6mm and color Corduroy [506-145]:
Make a slip knot and leave a long tail end which we will use later to close the top. Chain 61, sl st in the 1st ch to form a ring.
Round 1
ch 1 (does not count as a stitch), 61 sc* <61>
*work the sc stitches around the chains and tail end, see video
Round 2
1 sc in next 3 stitches, [ch 3, skip 3 stitches, dc in next stitch, work a ps around the dc, ch 3, skip 3 stitches, 1 sc in next 5 stitches] 4 times, repeat one more time but end with 1 sc in last 3 stitches <61 / 5 ps>
Round 3
1 sc in each stitch and 3 sc in each chain space around <61>
Round 4
1 dc in first stitch, work a ps around the dc, [ch 3, skip 3 stitches, 1 sc in next 5 stitches, ch 3, skip 3 stitches, dc in next stitch, work a ps around the dc] 4 times, repeat one more time but end after the last dc; do not work the last ps <61 / 5 ps>
Round 5
1 sc in each stitch and 3 sc in each chain space around <61>
Round 6 – 21
Repeat row 2, 3, 4 & 5 consecutively 4 more times
Change to color Jumpsuit [506-138]
Round 22
hdc in each sc around <61>
Round 23 – 47
hdc blo in each stitch around <61>
Assembly
Use a darning needle to close the tops on both sides of the beanie. Fasten off and weave in your ends. Choose which side you want to wear on the outside and fold the other side to the inside. Tadaa! A warm and beautiful beanie that can simply be reversed.
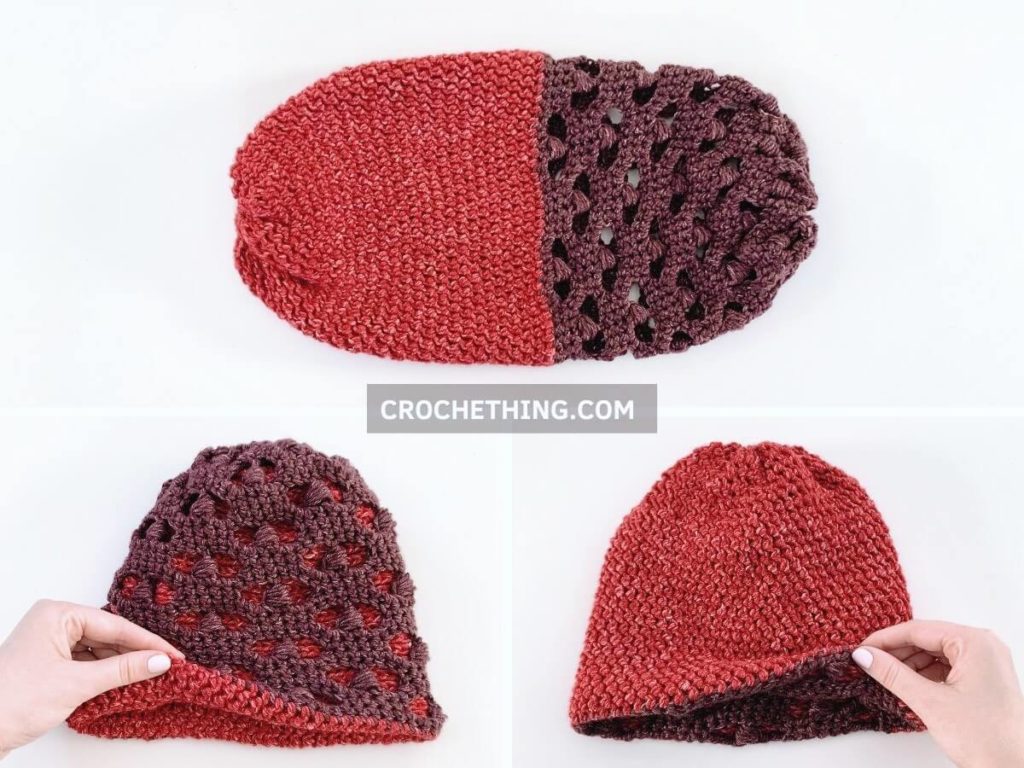
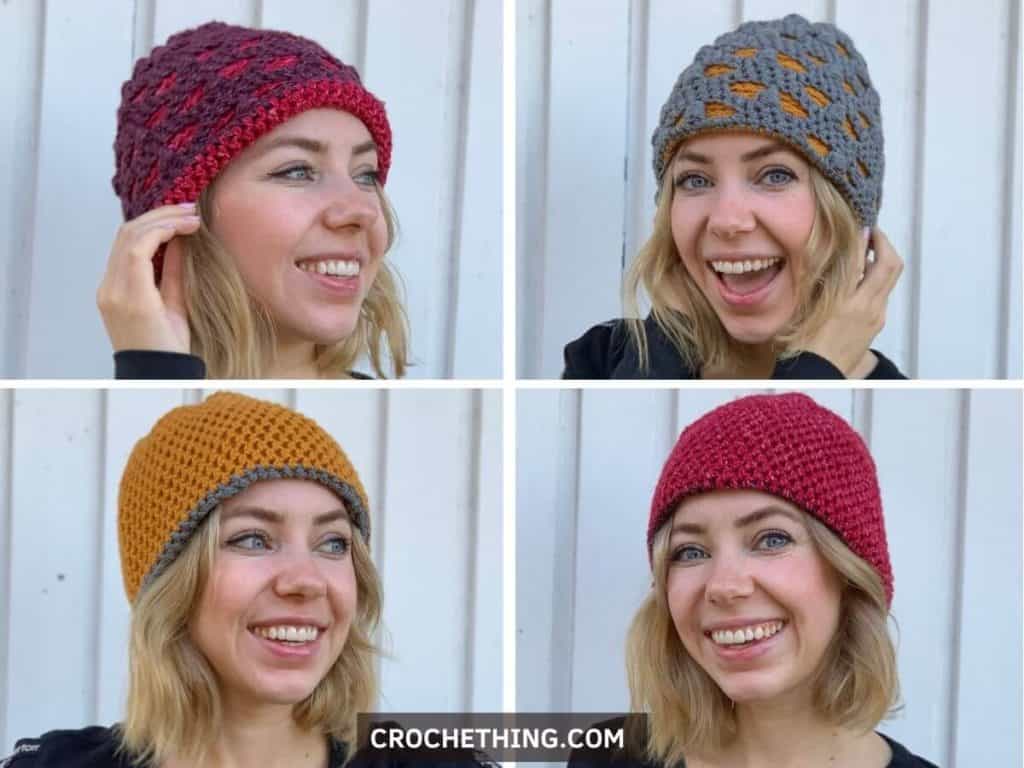
Photo tutorial
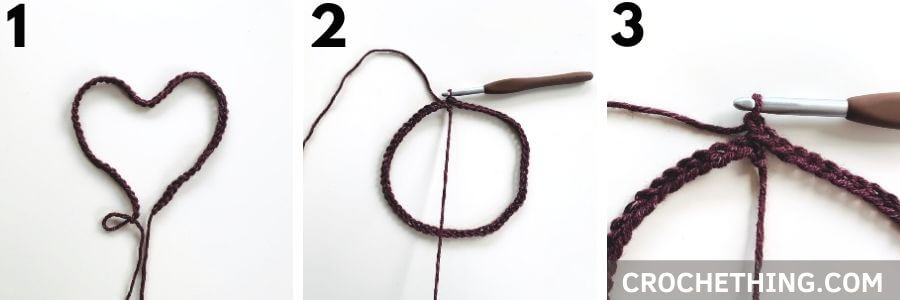
1. 62 ch
2. close the chs with a sl st in 1st st
3. ch 1
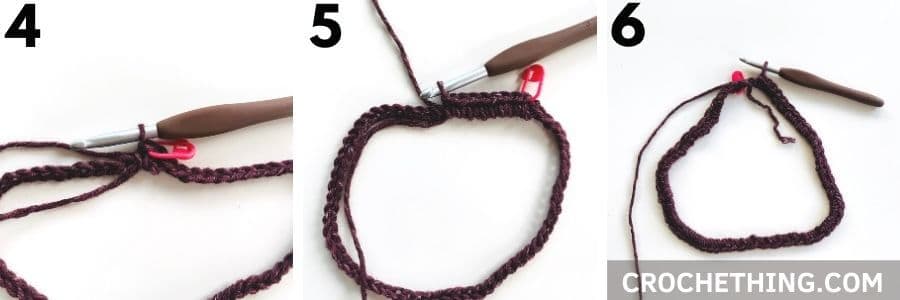
4. hdc, place the stitch marker in every 1st st
5. work the hdc around ch and long tail
6. round 1
7. round 2
8. round 3
9. round 4
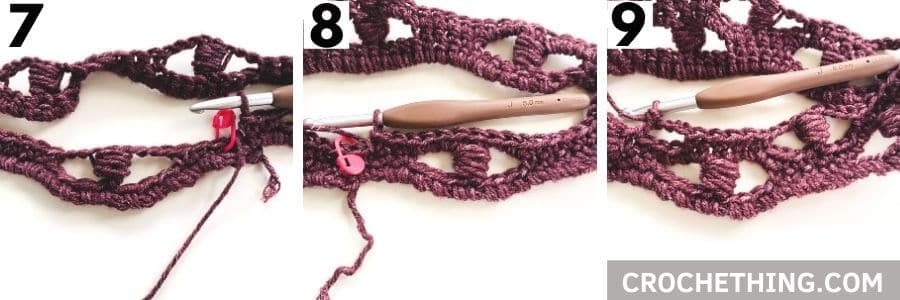
10. round 5
11. round 21
12. round 22
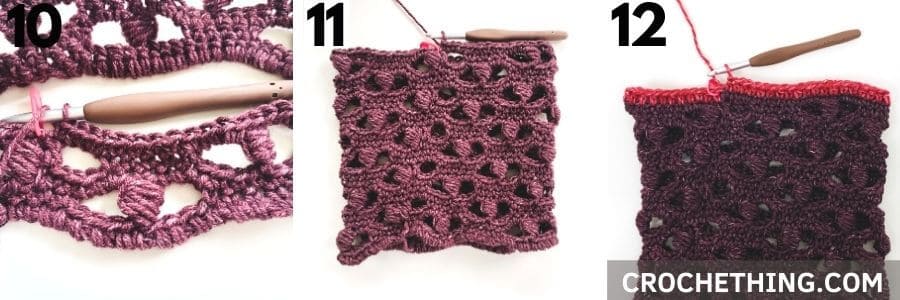
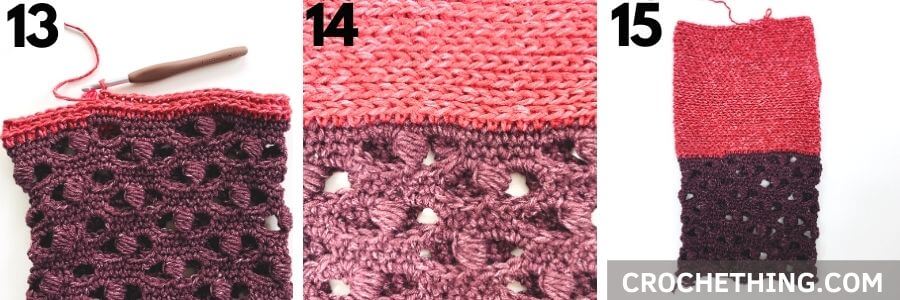
13. round 23
14. texture
15. round 47

That looks amazing! I am definitely going to make a few for gifts! I look forward to making your items. Thank you!!
I love this pattern, such a great idea for colour and texture. It’s Summer now where I live but I’m making one anyway!
Thank you, oh how I already long for the summer 🤗
I am confused on two things – the video states that the first row is 61 SC, yet the written states 62 HDC. I have tried making the first row about 10 times and I cannot keep it from twisting. I am so frustrated, since I wanted to make this for a Christmas present, yet I don’t think I can figure out how to do it correctly. Do you have any advice on how to prevent the twists? I have tried so many times and I can’t figure out what I am doing wrong. 🙁
Hi Rachelle thank you so much for your comment! There was a typo and I fixed it! It is SC. There are more options to do the first row.. 1) ch 62, start in 2nd ch from the hook, 61 sc and then form the ring. 2) 61 foundation SC, form the ring
In this case it would be no problem to work the 1st row with HDC if it is easier for you to form the ring without twisting, because this row/ side will be most hidden at the top of the beanie. I hope you will give it another try and don’t give up. ❤️
I can not figure out why I am adding stitches in the row that starts the puff stitch and the row after. I am not a really experience crocheter. Do you know the usual mistake that would cause that . I have read the instructions and looked at the video several times. I am sure there is something I am not reading correctly. any suggestions?
I think it goes wrong with the slipstitch (working continuous rounds)… What I would recommend is to practice a few rows of the stitch. You can find my tutorial here https://www.crochething.com/how-to-make-a-blocked-puff-stitch/
Good luck and enjoy 🤗
I would love to print this pattern.
I’m working on Pdf’s but it will take a bit ❤️
just FYI, you can use printfriendly.com to create your own pdf – you can even do some minor editing (remove extra images, blocks of unwanted text). webmasters can add a button to their sites; users can add an extension to their web browsers (computers, only; no tablets/phones). just a suggestion, 😊
Is the pattern also in Dutch ??