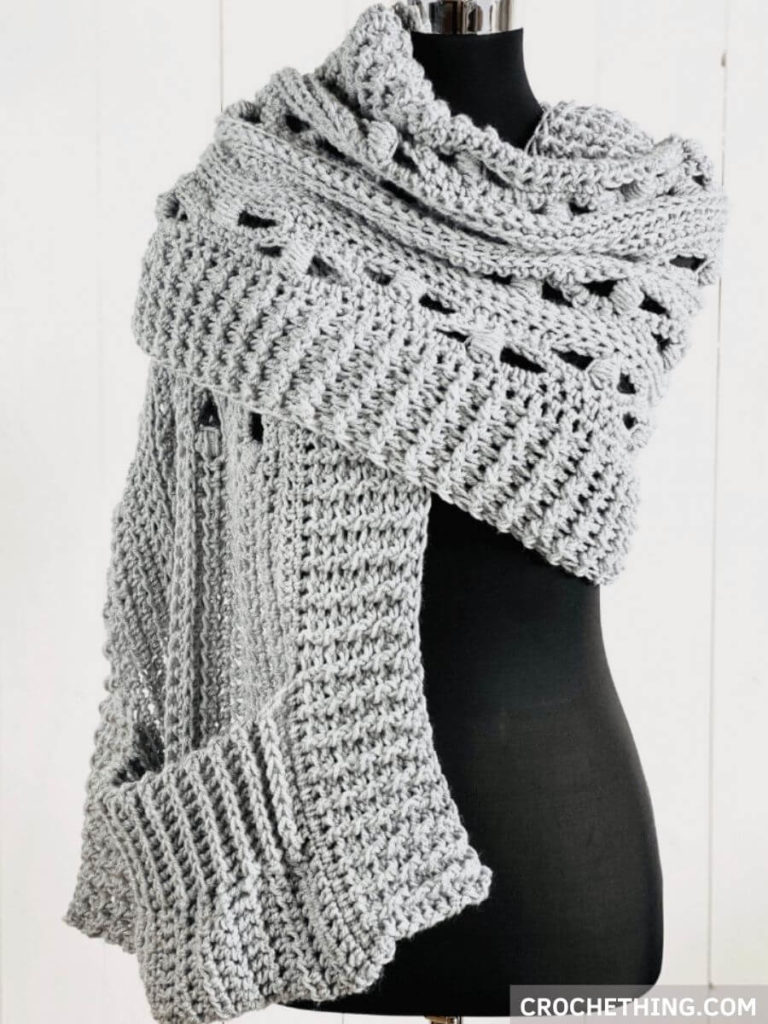
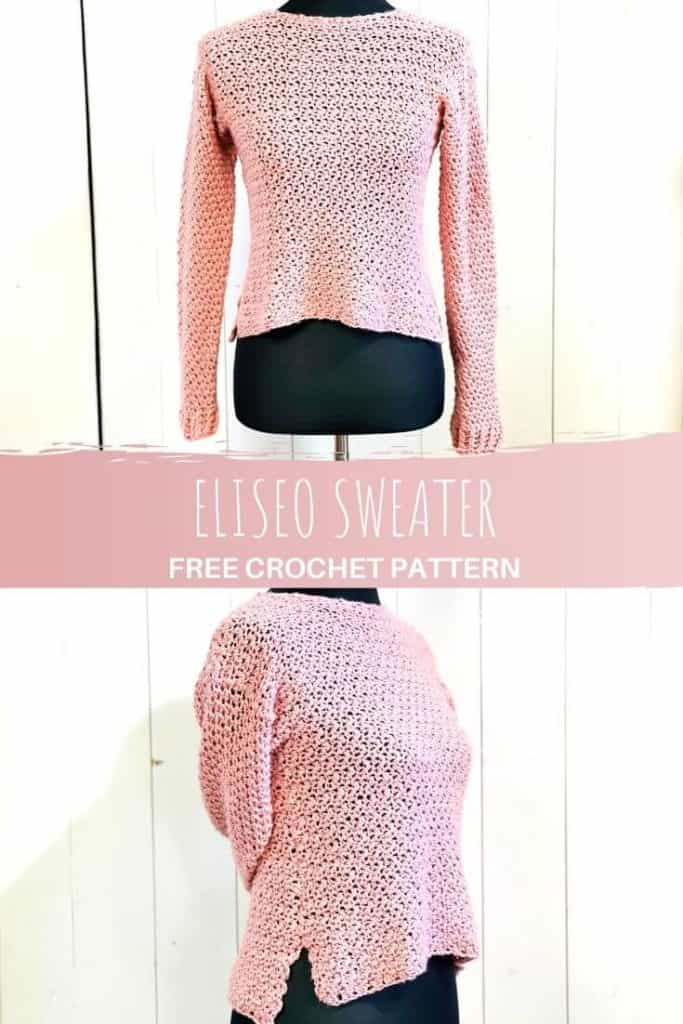
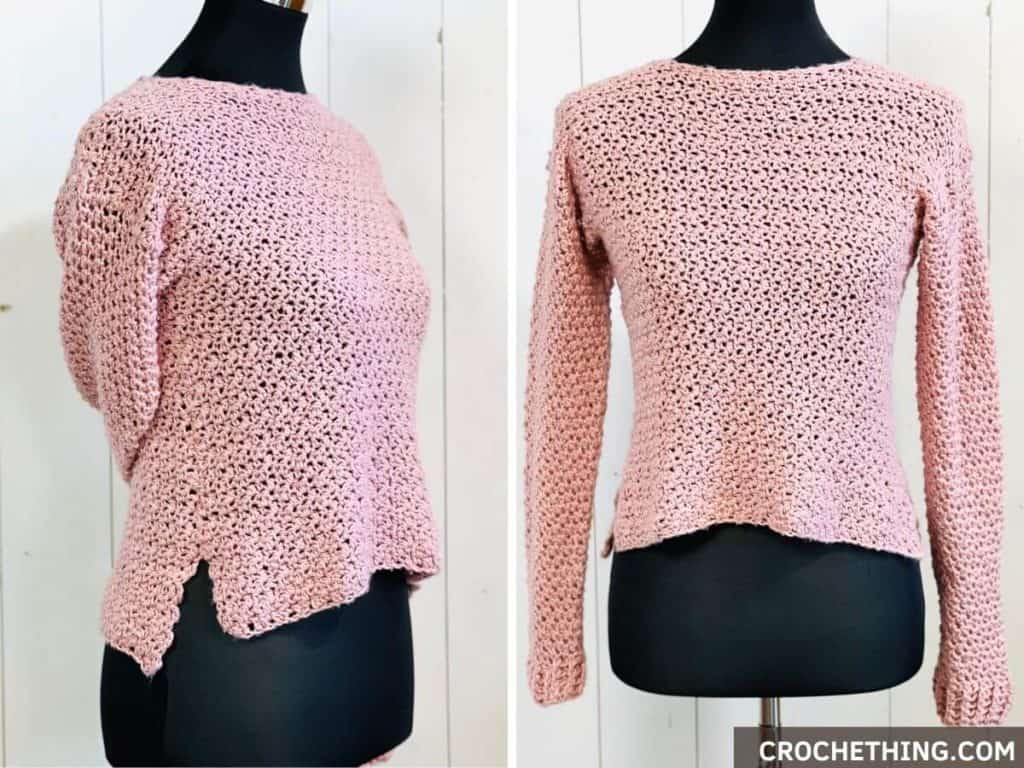
Crochet your own Eliseo Sweater with my free crochet pattern. A beginner-friendly sweater in size S-5XL that works up fast. Whether it is a chilly summer day or a dark winter day, this sweater can be worn all year. This pattern is just a simple 2-row repeat, so you can easily work in between other tasks or while watching movies and series.
Scroll down for my free pattern or purchase my ad-free PDF version of this pattern on Ravelry. The PDF is designed for printing and this way you can support me.
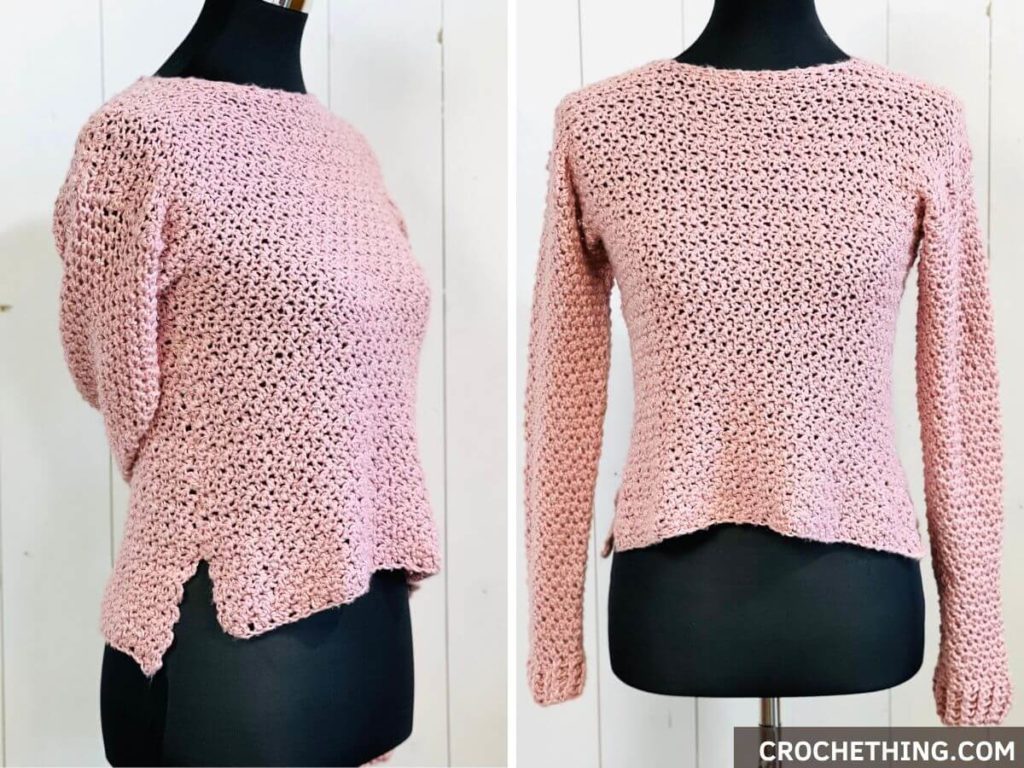
About the Eliseo Sweater
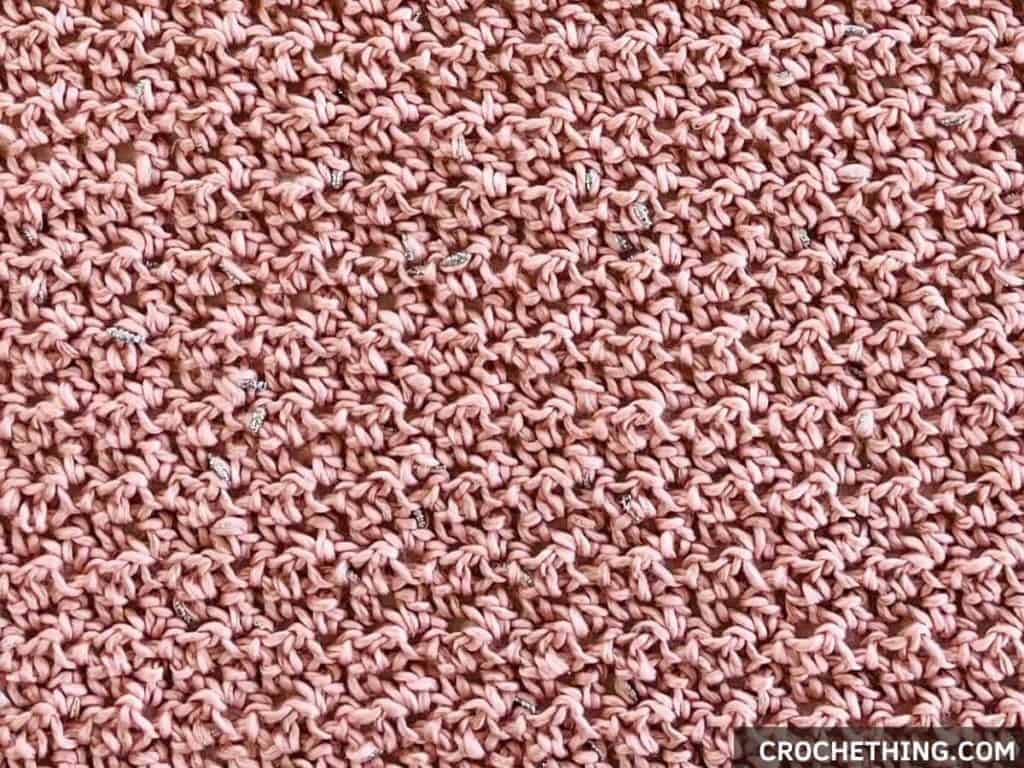
This sweater is made out of 2 simple rectangles sewn together, featuring single crochet and double crochet stitches. The sleeves are joined in the armhole and worked in the round.
For this sweater I’ve used Katia Concept Eliseo which is a 90% cotton yarn and a silver shimmering. It’s very soft with a luxurious appearance and is perfect for making shawls and garments.
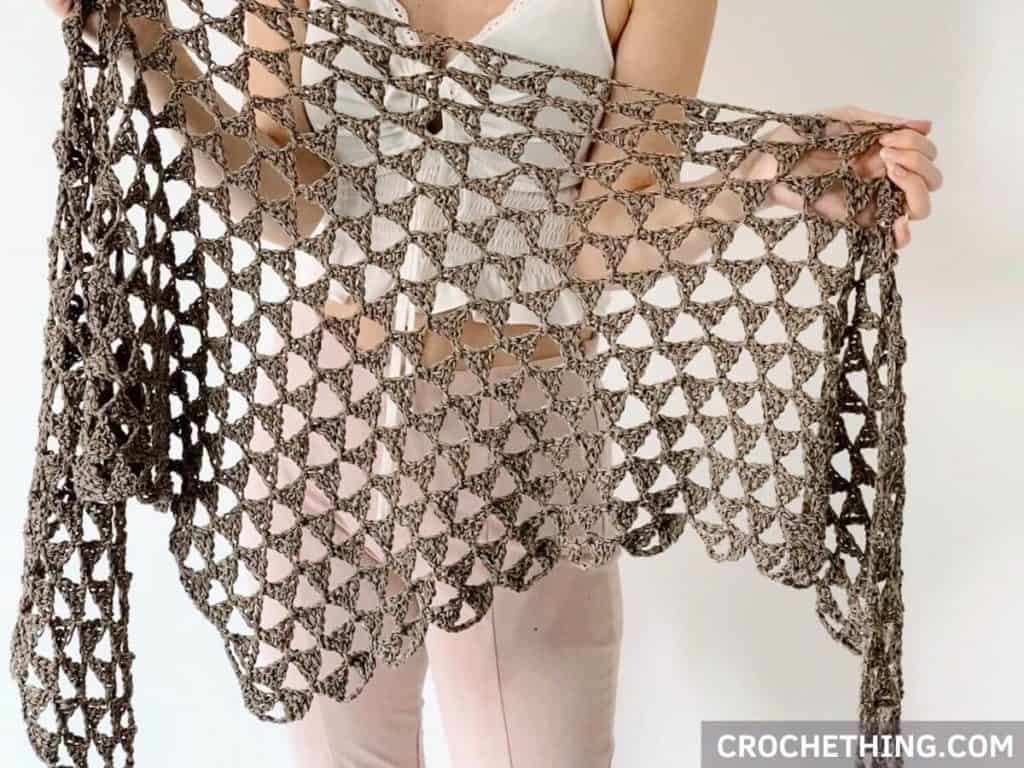
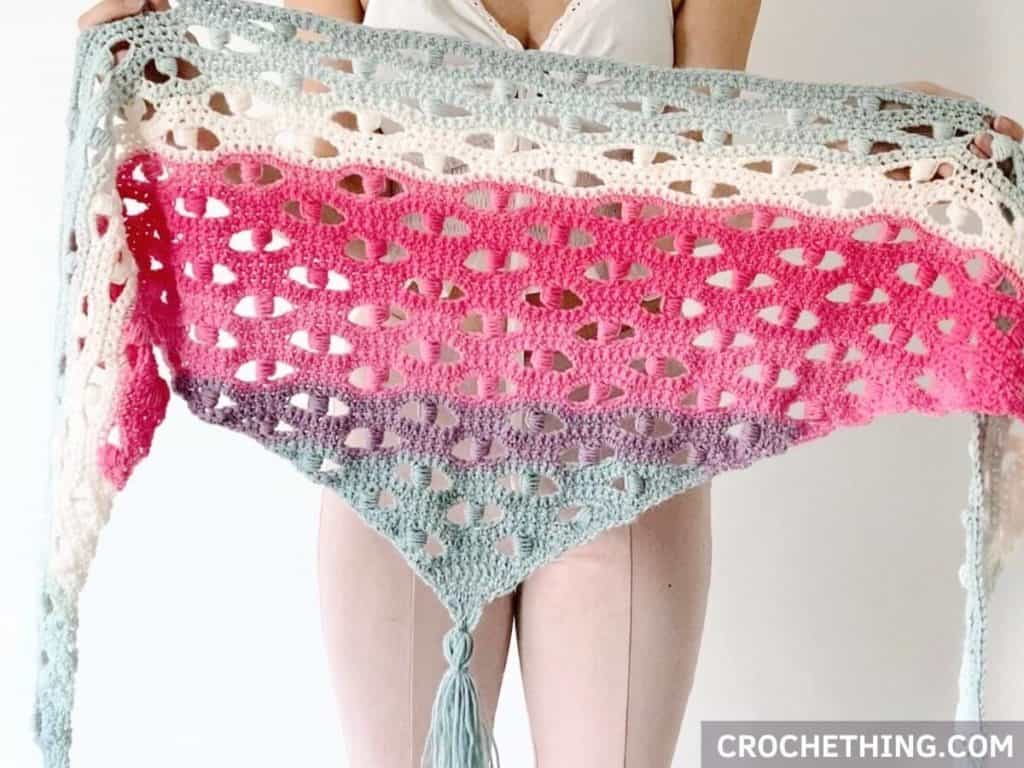
Other free patterns
Eliseo Sweater
Materials:
– Katia Concept Eliseo (Weight 2/fine, 142yds/ 1 oz3/4, 130m/50g)
6 (7, 8, 8, 9, 10, 11, 12) balls
or 280 (310, 360, 390, 440, 475, 525, 560) grams of similar yarn
– 6 mm crochet hook
– 8 mm crochet hook (optional)
– Darning needle
– Scissors
– Stitch markers
Abbreviations:
st: stitch
sl st: slip stitch
ch: chain
sc: single crochet
dc: double crochet
sc2tog: single crochet 2 together
Gauge:
With hook size 6mm:
11 st x 12 rows = 10 x 10 cm / 4 x 4”
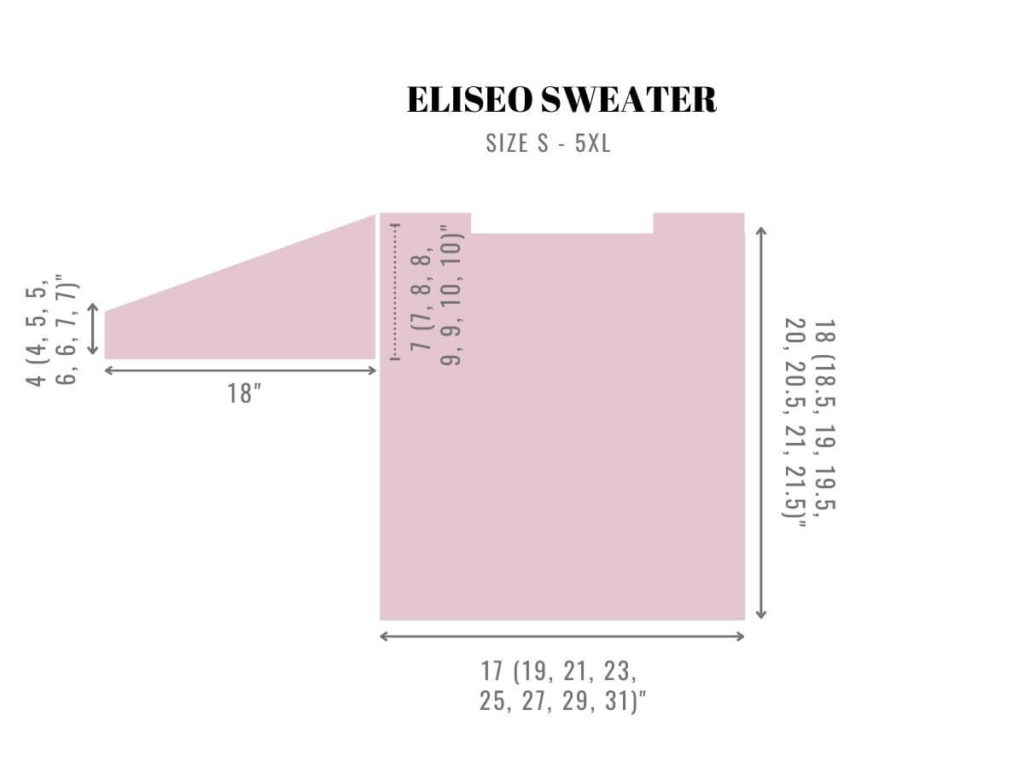
Measurements (in inch):
| S | M | L | XL | 2XL | 3XL | 4XL | 5XL | |
| Fits bust | 34-36 | 38-40 | 42-44 | 46-48 | 50-52 | 54-56 | 58-60 | 62-64 |
| Actual bust sweater | 34 | 38 | 42 | 46 | 50 | 54 | 58 | 62 |
| Panel width | 17 | 19 | 21 | 23 | 25 | 27 | 29 | 31 |
| Panel length | 18 | 18.5 | 19 | 19.5 | 20 | 20.5 | 21 | 21.5 |
| Arm hole | 7 | 7 | 8 | 8 | 9 | 9 | 10 | 10 |
| Sleeve length | 18 | 18 | 18 | 18 | 18 | 18 | 18 | 18 |
Notes:
– This pattern is written in US terminology
– 3 turning chains do not count as a stitch
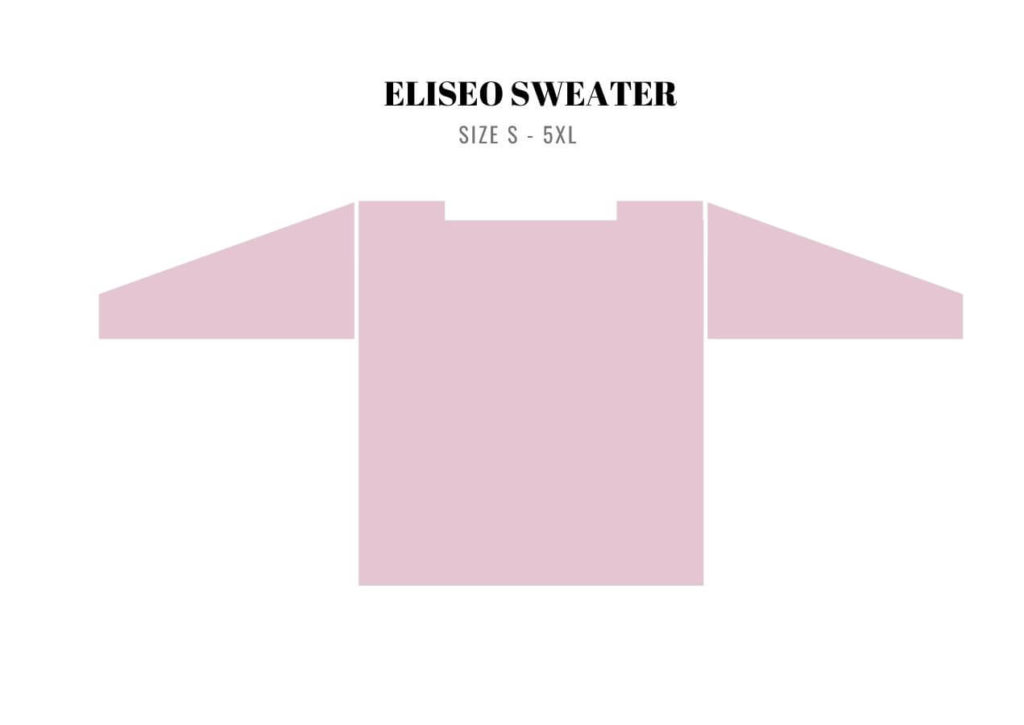
– This sweater is worked in 2 pieces (front and back) seamed together. Sleeves are joined in the arm hole and worked in continuous rounds. Neckline ribbing is worked last in the round by picking up stitches.
– Pattern contains instructions for sizes S, M, L, XL, 2XL, 3XL, 4XL, 5XL. Directions for sizes are in parentheses such as “51 (57, 63, 69, 75, 81, 87, 93) dc” whereas 51 stands for size S, 57 for M, etc. When only one number is given, it applies to all sizes. To follow the pattern more easily, circle all numbers pertaining to your size before beginning.
Video tutorial
To make it easier, I’ve made a video tutorial showing you how to make this Eliseo Sweater. You can find my free written pattern below.
* Click here to watch the video on YouTube
Pattern
** Note: You can purchase the ad-free PDF version of this pattern on Ravelry. The PDF is designed for printing and this way you can support me! **
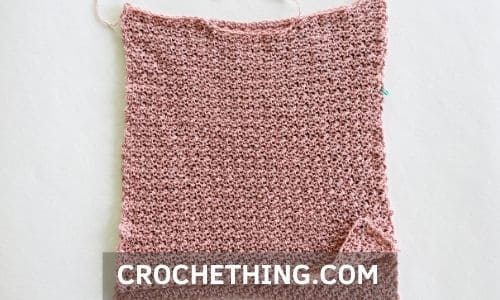
BACK PANEL
Use a very loose tension for the chains. I recommend using a bigger hook size, for example 8mm.
Ch 51 (57, 63, 69, 75, 81, 87, 93)
With hook size 6mm:
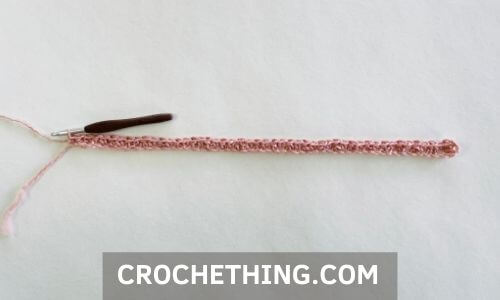
Row 1
1 dc in 4th ch from hook, *1 sc in next st, 1 dc in next st* repeat across, 1 sc in last st, turn <48 (54, 60, 66, 72, 78, 84, 90) sts>
Row 2
ch 3, 1 dc in fist st, *1 sc in next dc, 1 dc in next sc* repeat across, 1 sc in last dc, turn <48 (54, 60, 66, 72, 78, 84, 90) sts>
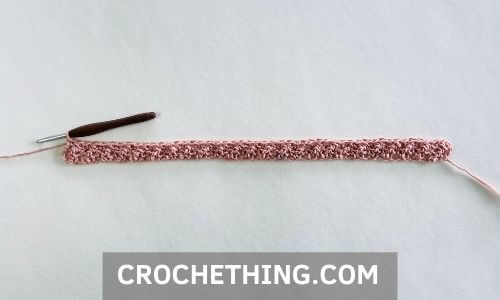
Repeat row 2 until row 55 (56, 58, 60, 61, 63, 64, 66) or until total length measures 18 (18.5, 19, 19.5, 20, 20.5, 21, 21.5)”
Fasten off, weave in ends.
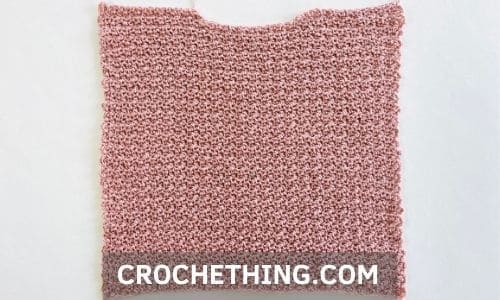
FRONT PANEL
Repeat steps from back panel, but repeat row 2 until row 50 (51, 53, 55, 56, 58, 59, 61).
Right shoulder
Row 51 (52, 54, 56, 57, 59, 60, 62):
ch 3, 1 dc in 1st st, *1 sc in next dc, 1 dc in next sc* repeat 6 (7, 8, 9, 10, 11, 12, 13) more times, 1 sc in next dc, sc2tog, turn <17 (19, 21, 23, 25, 27, 29, 31) st total>
Row 52 (53, 55, 57, 58, 60, 61, 63):
ch 1, sc2tog, *1 sc in next dc, 1 dc in next sc* repeat 6 (7, 8, 9, 10, 11, 12, 13) more times, 1 sc in last dc <16 (18, 20, 22, 24, 26, 28, 30) st total>
Fasten off, weave in ends.
Skip next 16 (18, 20, 22, 24, 26, 28, 30) stitches or 5.5 (6, 6.5, 7, 7.5, 8, 8.5, 9)” for the neckline, add a stitch marker in the next stitch because that’s where we will continue with the left shoulder.
Left shoulder
Row 51 (52, 54, 56, 57, 59, 60, 62):
ch 1, sc2tog, *1 dc in next sc, 1 sc in next dc* repeat 7 (8, 9, 10, 11, 12, 13, 14) more times, turn <17 (19, 21, 23, 25, 27, 29, 31) st total>
Row 52 (53, 55, 57, 58, 60, 61, 63):
ch 3, 1 dc in first st, *1 sc in next dc, 1 dc in next sc* repeat 6 (7, 8, 9, 10, 11, 12, 13) more times, sc2tog <16 (18, 20, 22, 24, 26, 28, 30) st total>
Fasten off, weave in ends.
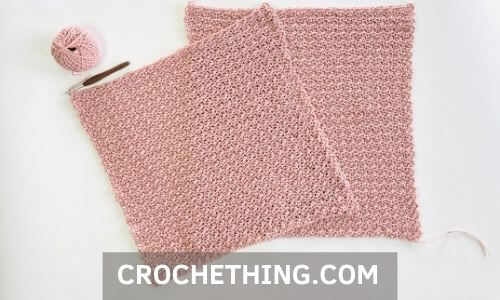
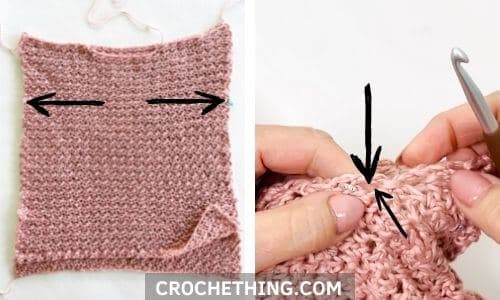
ASSEMBLY
Lay both panels on top of each other and seam both sides together. Begin at the bottom, working your way up, leaving 21, 21, 24, 24, 27 27, 30, 30) rows or 7 (7, 8, 8, 9, 9, 10, 10)” open for the arm hole. Repeat on the other side.
If you want a slip at the bottom (like I have), skip the first 11 rows and start sewing at row 12 / 4” at the bottom of the back panel and 8 rows / 3” at the bottom of the front panel.
For the shoulders, sew 16 (18, 20, 22, 24, 26, 28, 30) stitches or 5.5 (6, 6.5, 7, 7.5, 8, 8.5, 9)” on both sides.
Weave all ends and turn your work inside out.
SLEEVES
Join yarn in the first stitch of the armhole and eave a long beginning tail to use for seaming later. Work in continuous rounds. Place a stitch marker in the first stitch of every round to make it easier.
Round 1:
ch 3 (doesn’t count as a stitch), 1 dc in first st, *1 sc in next st, 1 dc in next st* repeat around, (1 sc, 1 dc) in last st <43 (43, 49, 49, 55, 55, 61, 61) sts>
Make sure you have an uneven amount of stitches. Use your long tail end and a tapestry needle to close the hole between the first and last st in arm pit.
Round 2:
*1 sc in next dc, 1 dc in next sc* repeat around, 1 sc in last dc <43 (43, 49, 49, 55, 55, 61, 61 sts)>
Round 3:
*1 dc in next sc, 1 sc in next dc* repeat around, 1 dc in last sc <43 (43, 49, 49, 55, 55, 61, 61 sts)>
Round 4:
*1 sc in next dc, 1 dc in next sc* repeat around, 1 sc in last dc <43 (43, 49, 49, 55, 55, 61, 61 sts)>
Round 5:
dc2tog, sc2tog, *1 dc in next sc, 1 sc in next dc* repeat around, 1 dc in last sc <41 (41, 47, 47, 53, 53, 59, 59 sts)>
Repeat round 2, 3, 4 and 5 eight more times until round 37 <25 (25, 31, 31, 37, 37, 43, 43 sts at the end of round 36>
Round 38 – 49:
Repeat round 2 and 3 consecutively 6 more times <25 (25, 31, 31, 37, 37, 43, 43 sts> or until sleeve measures 16.5”.
Note: you can change the length of the sleeve by repeating or removing round 2 and 3 as many times as needed. Keep in mind we will add a cuff which is an extra 1.5″.
SLEEVE CUFFS
sc2tog to get an even amount of stitches which we will need for the cuffs <24 (24, 30, 30, 36, 36, 42, 42 sts>
Round 50:
*1 fpdc in next st, 1 bpdc in next st* repeat around <24 (24, 30, 30, 36, 36, 42, 42 sts>
Repeat round 50 until round 54.
End with a sl st and invisible finish. Fasten off, weave in all ends.
Repeat sleeve and cuff on other side.
End pattern
Share a picture!
I would love to see a picture! Please tag me @crochethingmom on Instagram and add this pattern to your Ravelry queue.
If you have any questions about one of my crochet patterns, feel free to join our Facebook Group. We’ve created this group for you to share pictures, ask questions and to help each other out.
Lovely!