Now let’s talk zippers. You might have crocheted a gauge or test piece with a new, beautiful stitch. Let’s not waste that precious yarn and time! Turn your gauge into a pen case, pouch or bag by simply adding a zipper. In this tutorial you will learn how to sew a zipper by hand. Scroll down for my photo tutorial and step by step video.
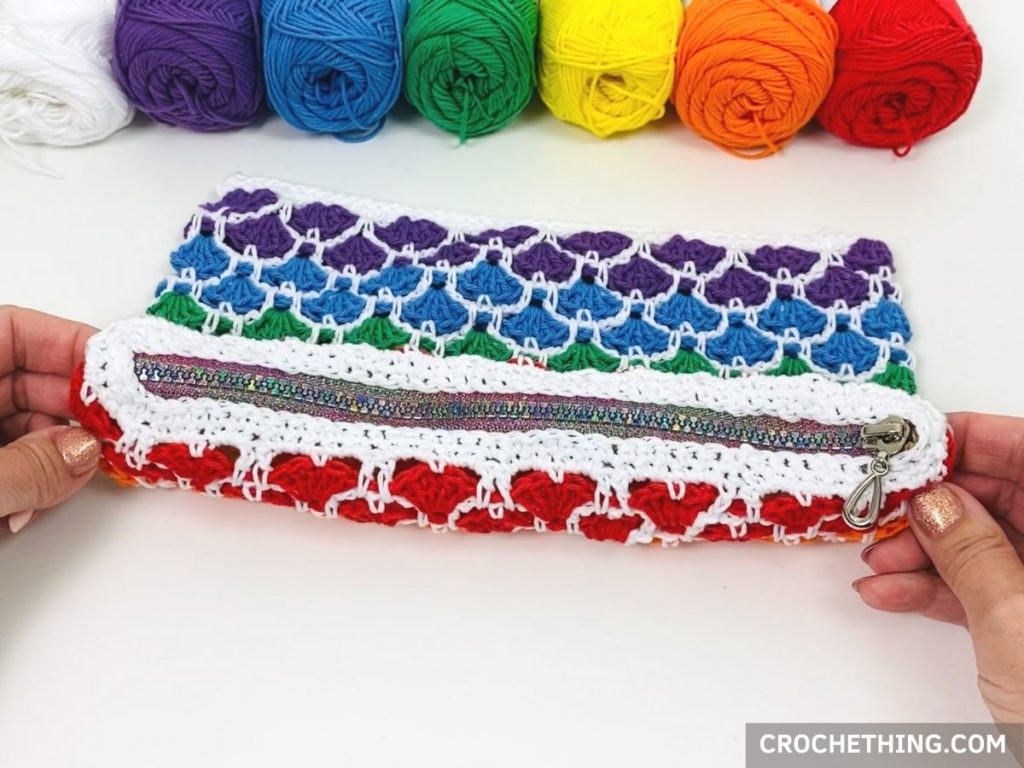
How to sew a zipper to your crochet project by hand: a tutorial for beginners
If this is your first time adding a zipper, I recommend using a zipper that matches the width of your project as much as possible. You’ll also use a darning needle with very sharp point.
I work the ‘backstitch’ in the crochet stitches.
Poke the needle up from beneath the stitch. Pull the thread until the knot catches against the underside of the fabric at the first insertion point.
Then, push the needle back down through the previous stitch.
Poke the needle up from beneath the 2nd stitch and continue like this.
Don’t pull the yarn to tight.
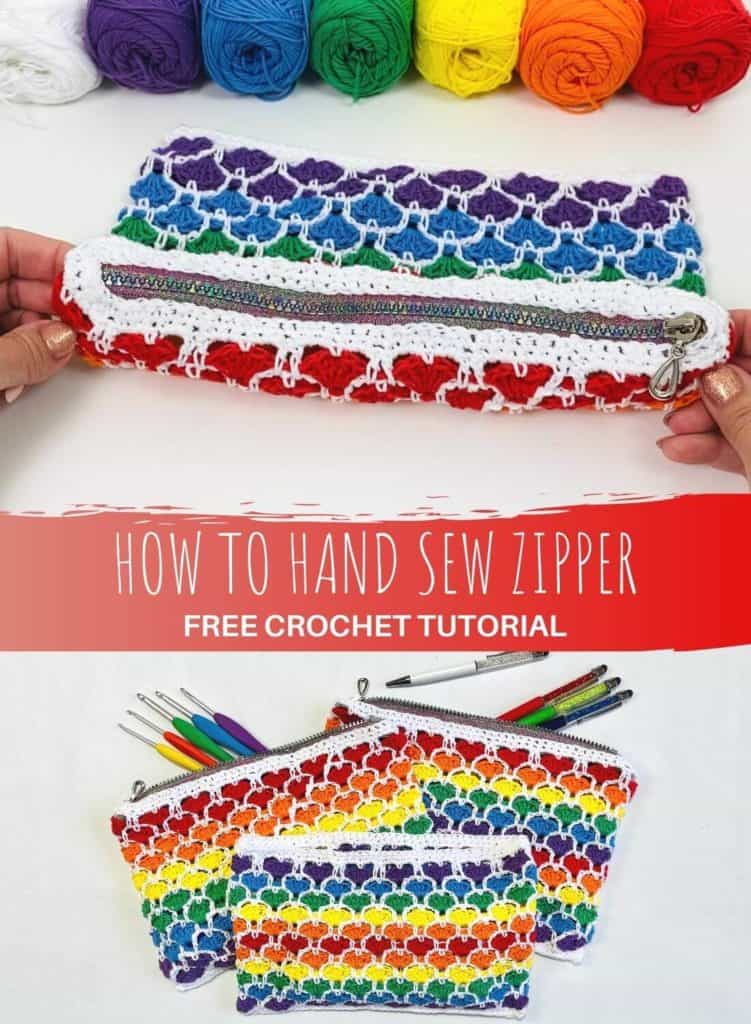
Materials:
– left over piece of yarn for sewing, preferably the same yarn you used for your project
– zipper, preferably the same width as your project
– darning needle with sharp point
– scissors
– pins
Video tutorial
To make it easier, I’ve made a video tutorial showing you how to sew a zipper to your crochet project by hand. You can also find my free photo tutorial below.
* Click here to watch the video on YouTube
Photo tutorial
1. measure the zipper
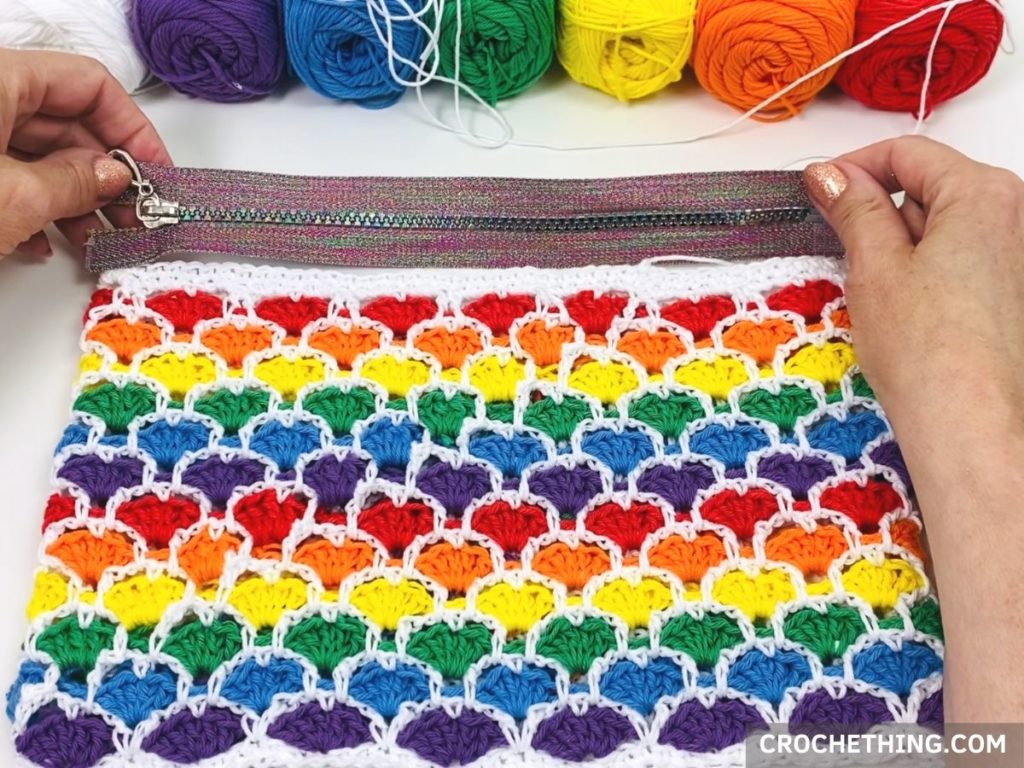
2. fold start of zipper like a v and secure with a pin
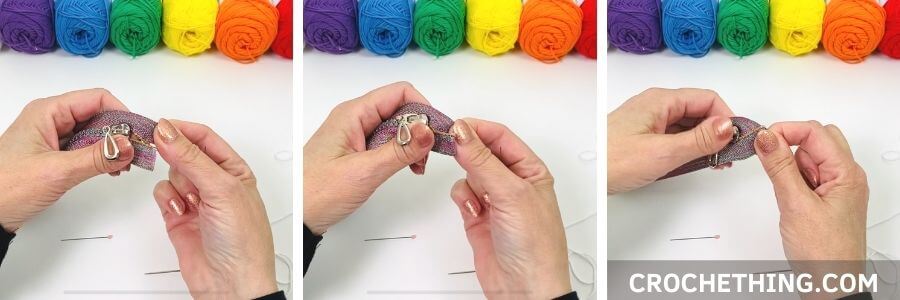
3. fold end of zipper inwards and secure with a pin
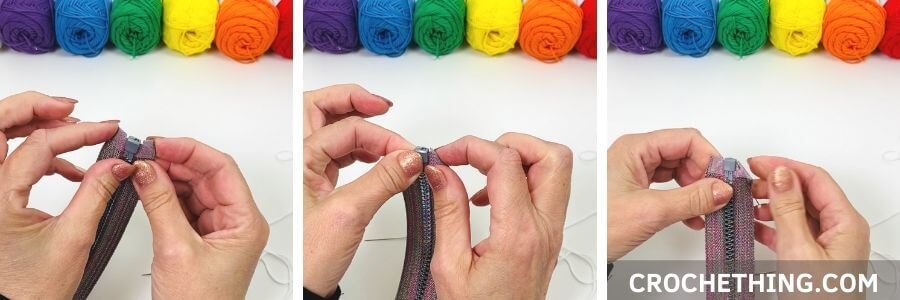
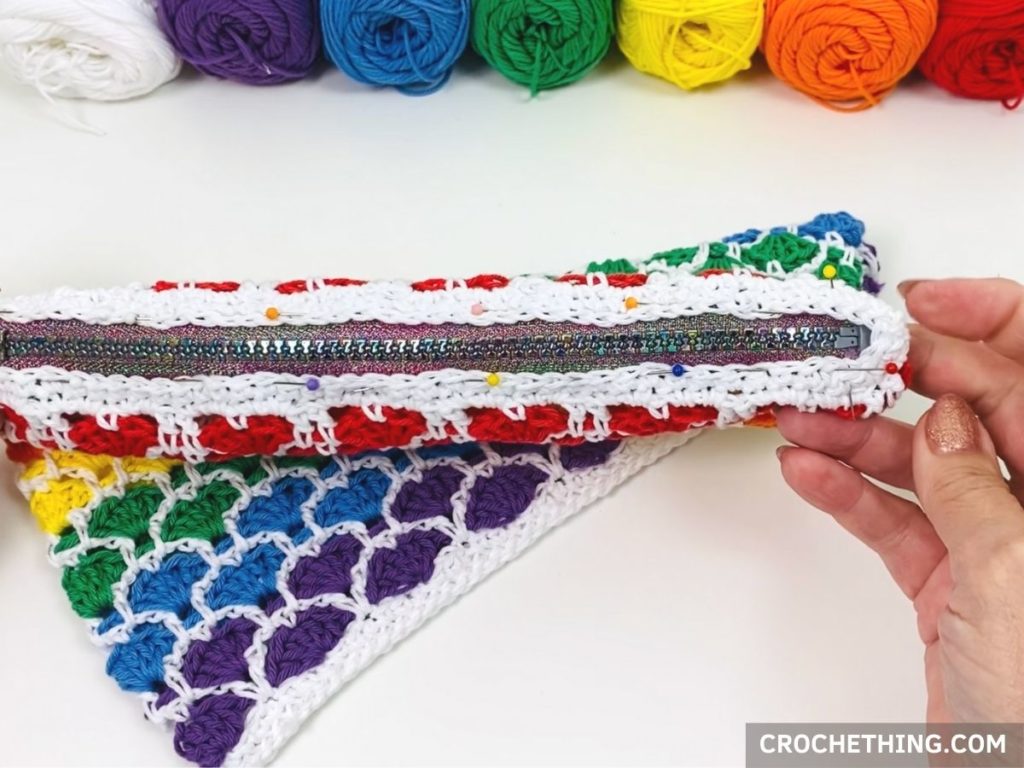
4. pin zipper onto your project

5. Work ‘back stitch’ to sew zipper onto pouch.
Poke the needle up from beneath the stitch. Pull the thread until the knot catches against the underside of the fabric at the first insertion point.
Then, push the needle back down through the previous stitch. Poke the needle up from beneath the 2nd next stitch and continue like this.


Leave a Reply